
What is labeling, and why is it important for my Keepgo eSIM/SIM card?
Labeling involves attaching a physical label to your Keepgo eSIM/SIM card, which helps you identify it easily among other cards you might have. It's essential for organization and ensuring you're using the correct card for your specific needs.
For Example if you bought an Auriga eSIM you can label it as Auriga or Europe on your device.
Here are the steps to label your Keepgo eSIM/SIM card:
STEP 1
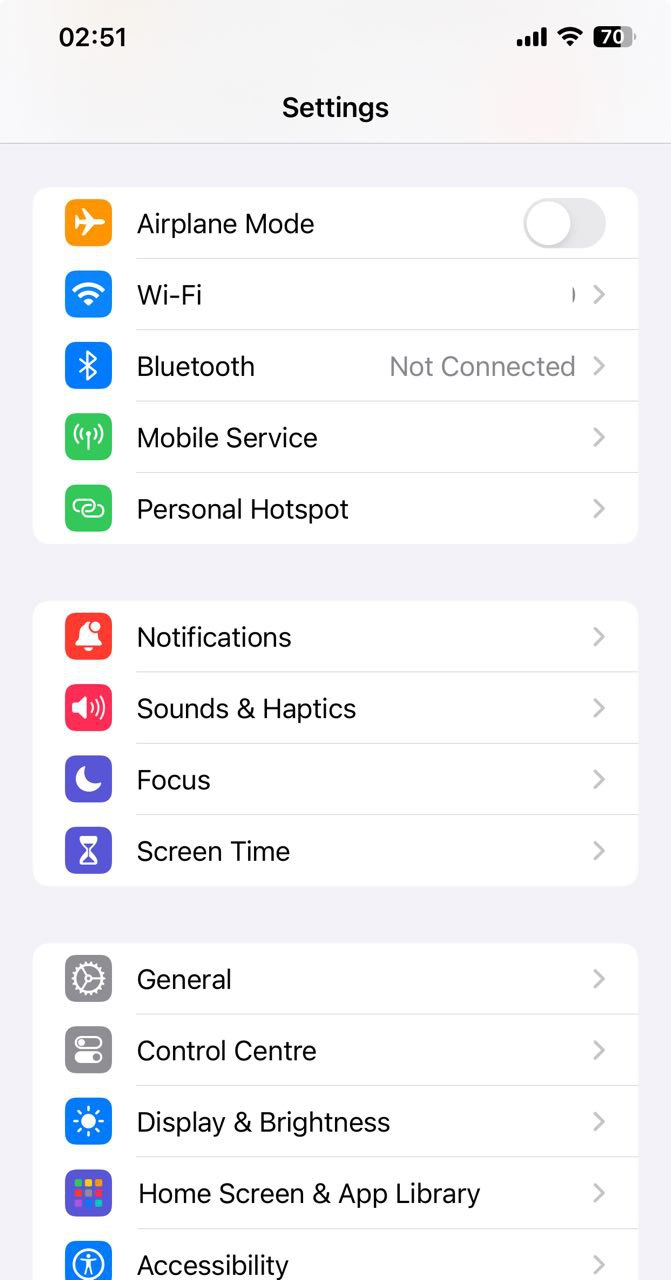
Go to your device Settings.
STEP 2
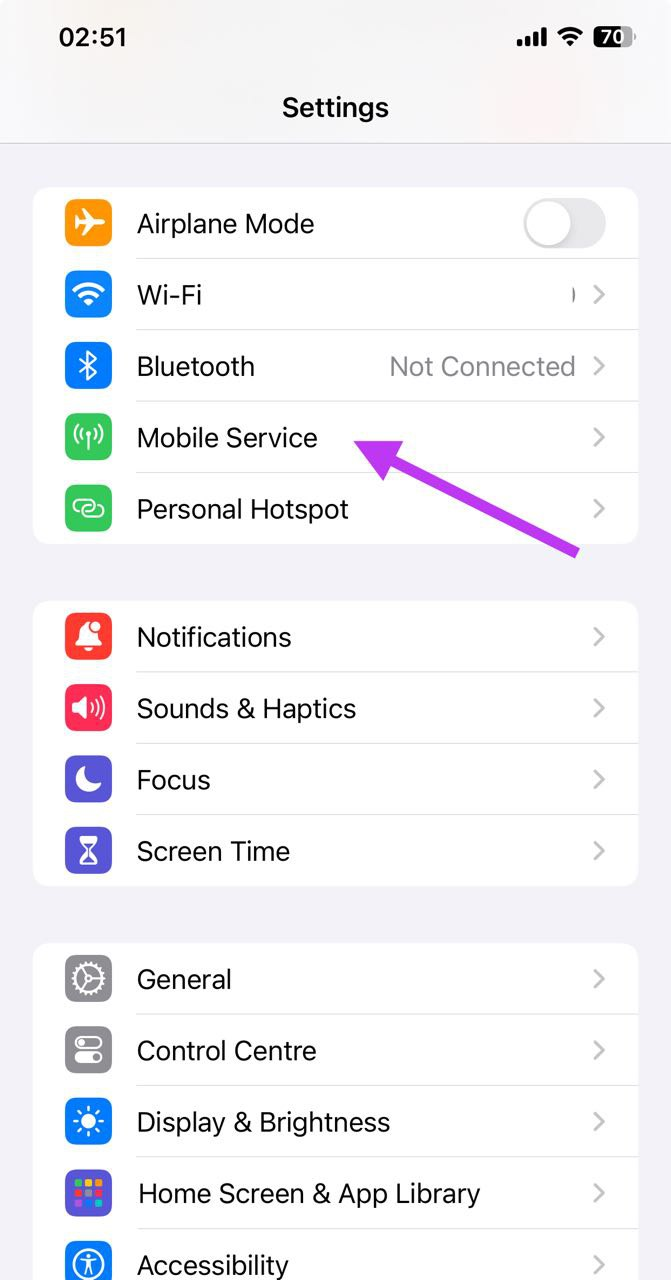
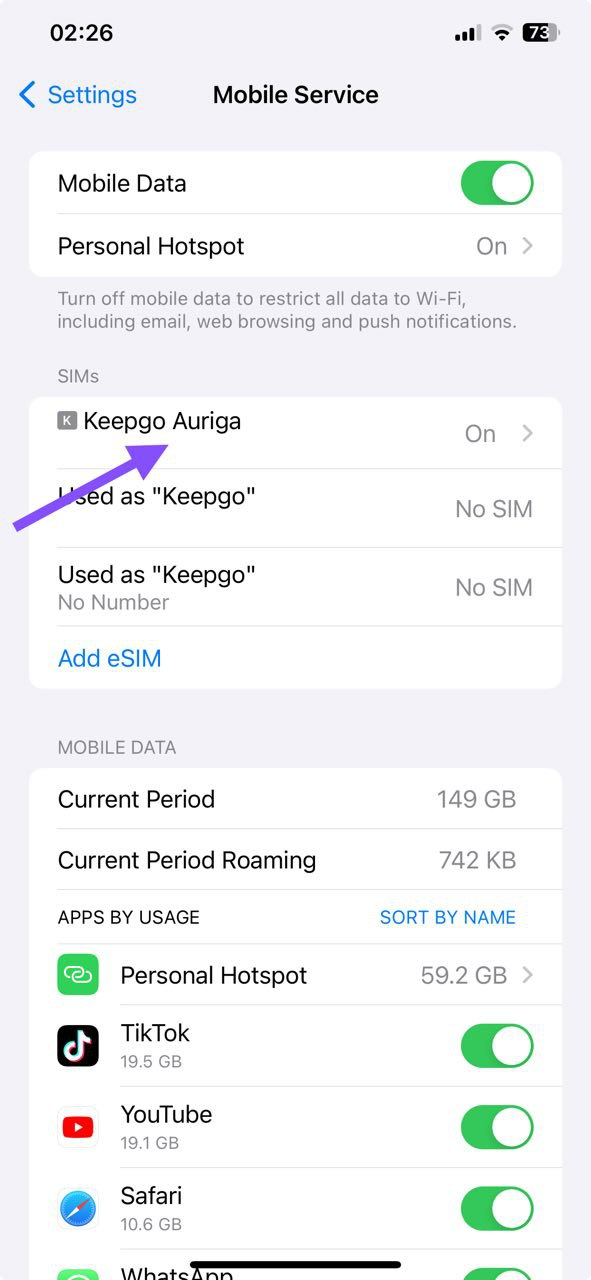
Navigate and tap on Cellular/Mobile data or Mobile Service(depending on your phone model).
STEP 3
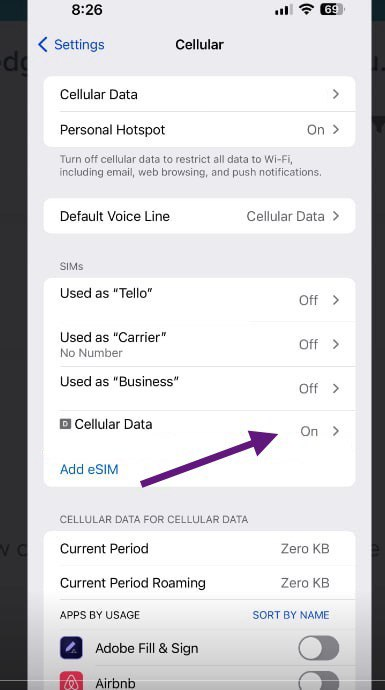
Tap on the eSIM that you want to label or rename. It's usually listed by the carrier name or might be labeled as 'Secondary.'" or "Travel" or Cellular data.
STEP 4
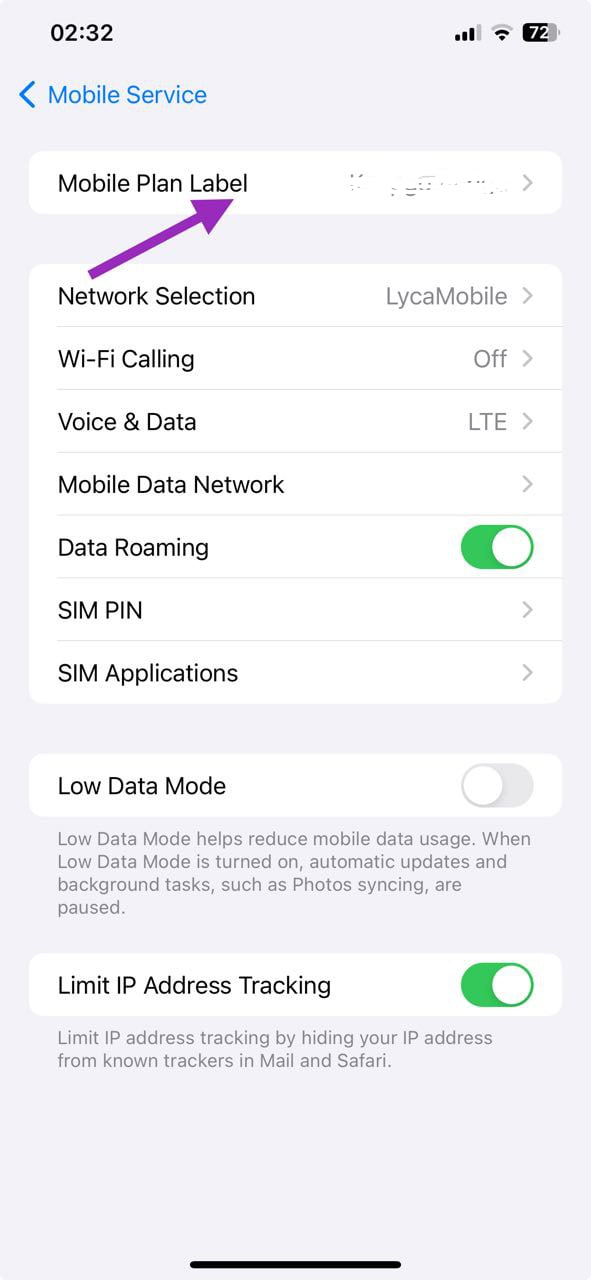
After selecting the eSIM, you'll be taken to your eSIM general setting/page with various options. Select Mobile plan label and you will be taken to the next page.
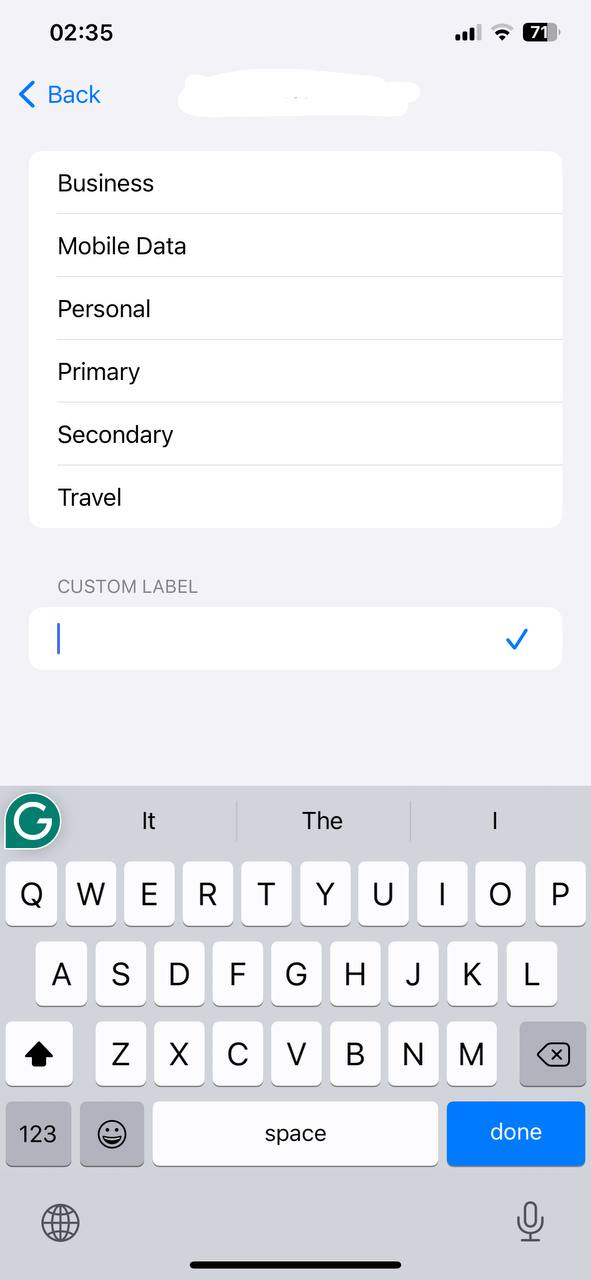
STEP 5
In this new page you can choose from the default labels like Personal,' 'Business,' and 'Travel or tap on 'Enter Custom Label' to type in whatever name you prefer. Once you've entered your label, tap 'Done.
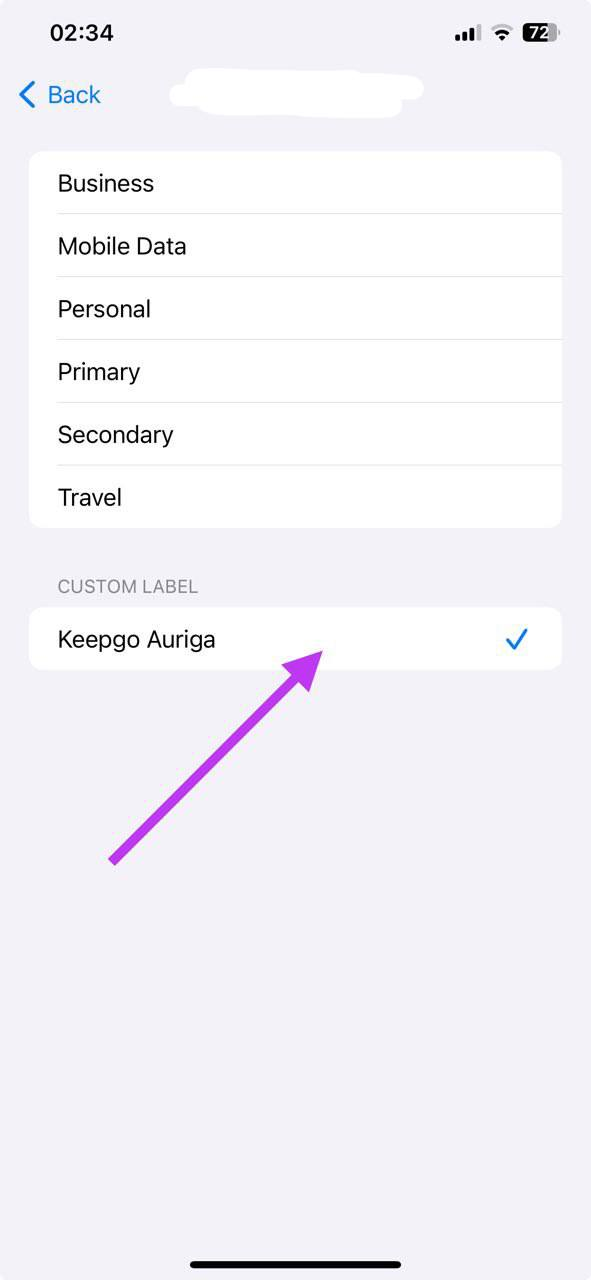
Example of custom label "Keepgo Auriga "
STEP 6
You can now go back to your SIM's page to see the result.
**** Please don’t choose primary while labelling because your original country SIM will be labeled as primary most of the time to avoid labelling the wrong SIM.
**** If you encounter any difficulty while labelling your eSIM/SIM please contact us at support@keepgo.com